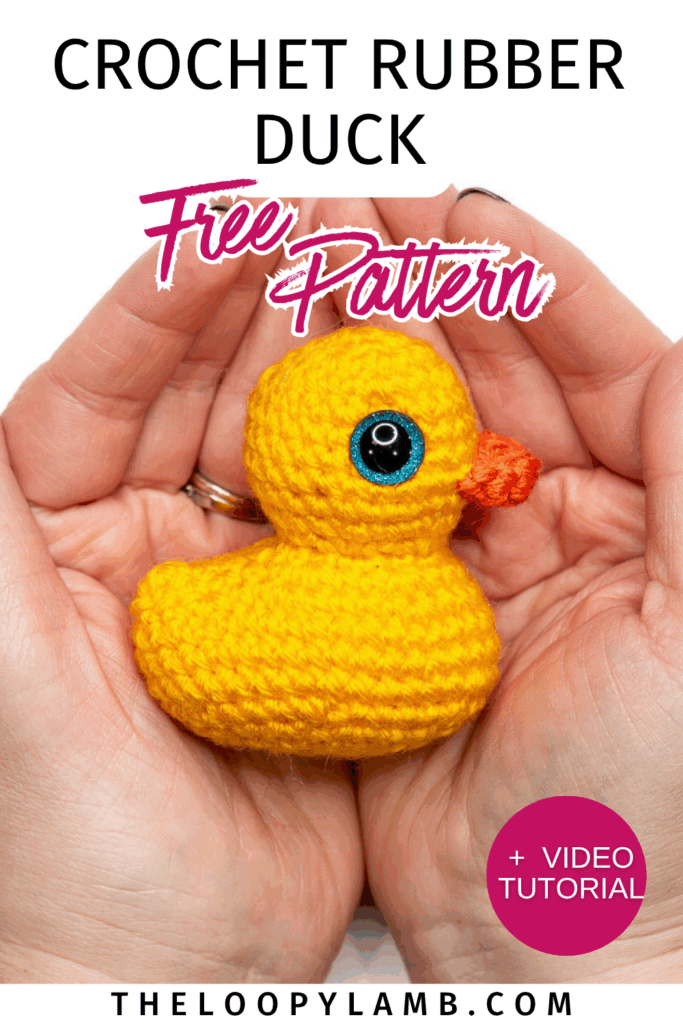
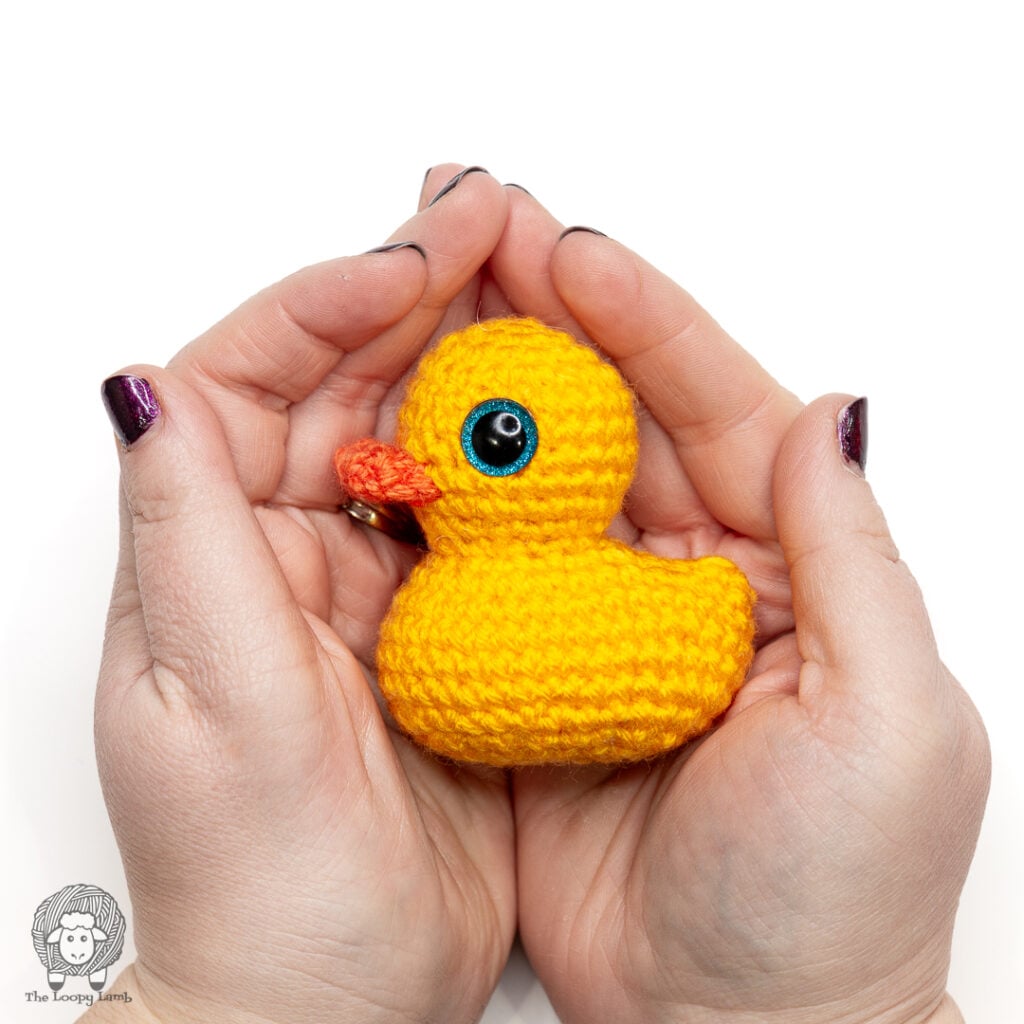
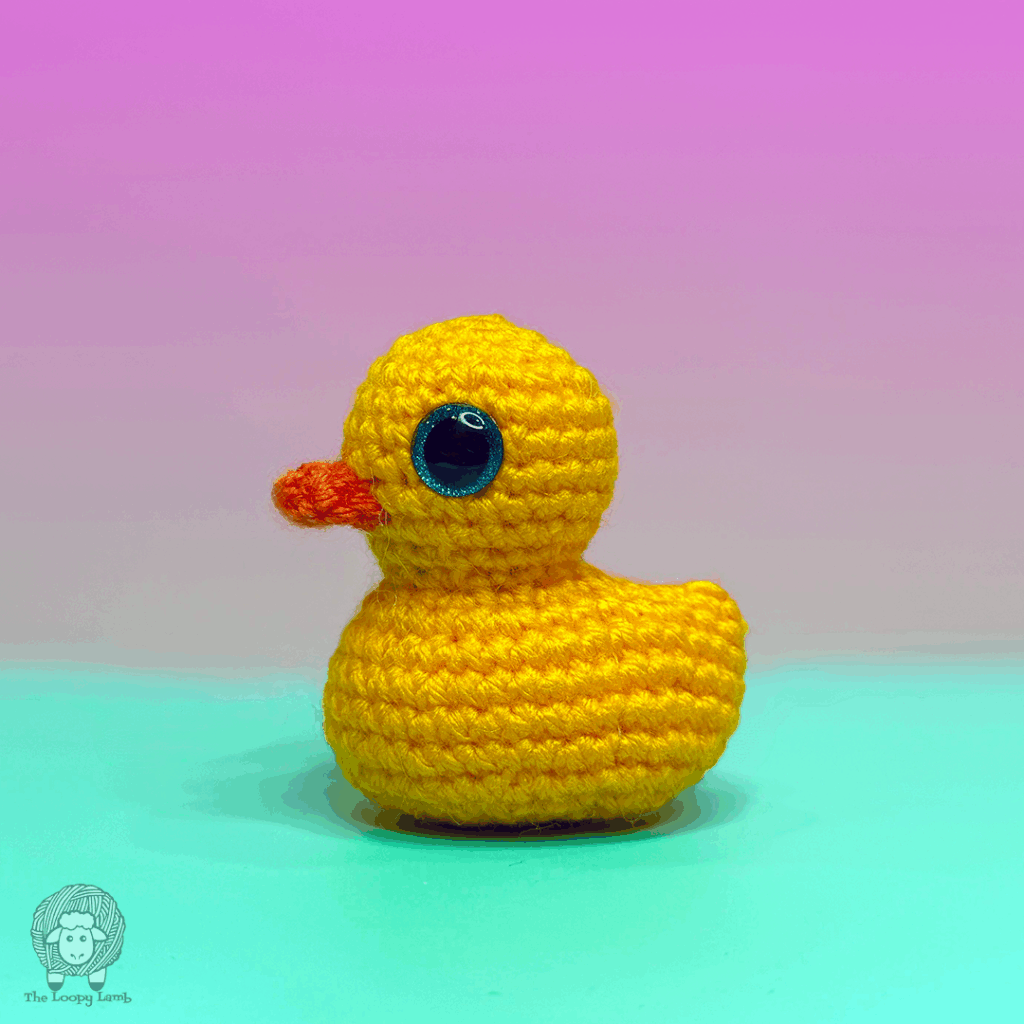
If you’ve been looking for a rubber duck crochet pattern that’s simple, fun, and beginner-friendly, you’re going to love Sir Quackington. This low-sew amigurumi duck comes together quickly and uses basic stitches, making it a great project if you’re just getting started or want something relaxing to work on. With its classic rubber duck shape and minimal finishing, this is the kind of pattern you can pick up and confidently complete in one sitting: perfect for gifts, markets, or adding a handmade little duck to your space.
In this blog post you’ll find the full written pattern to make your own Sir Quackington rubber duck as well as a step-by-step video tutorial to walk you through this project from the first to the last stitch.
📌 Pin This Free Pattern to Save It For Later Save It
*This post may contain affiliate links, which means that I may earn a small commission from qualifying purchases made through these links at no additional cost to you. All opinions are my own.*
Prefer a Printable Version?
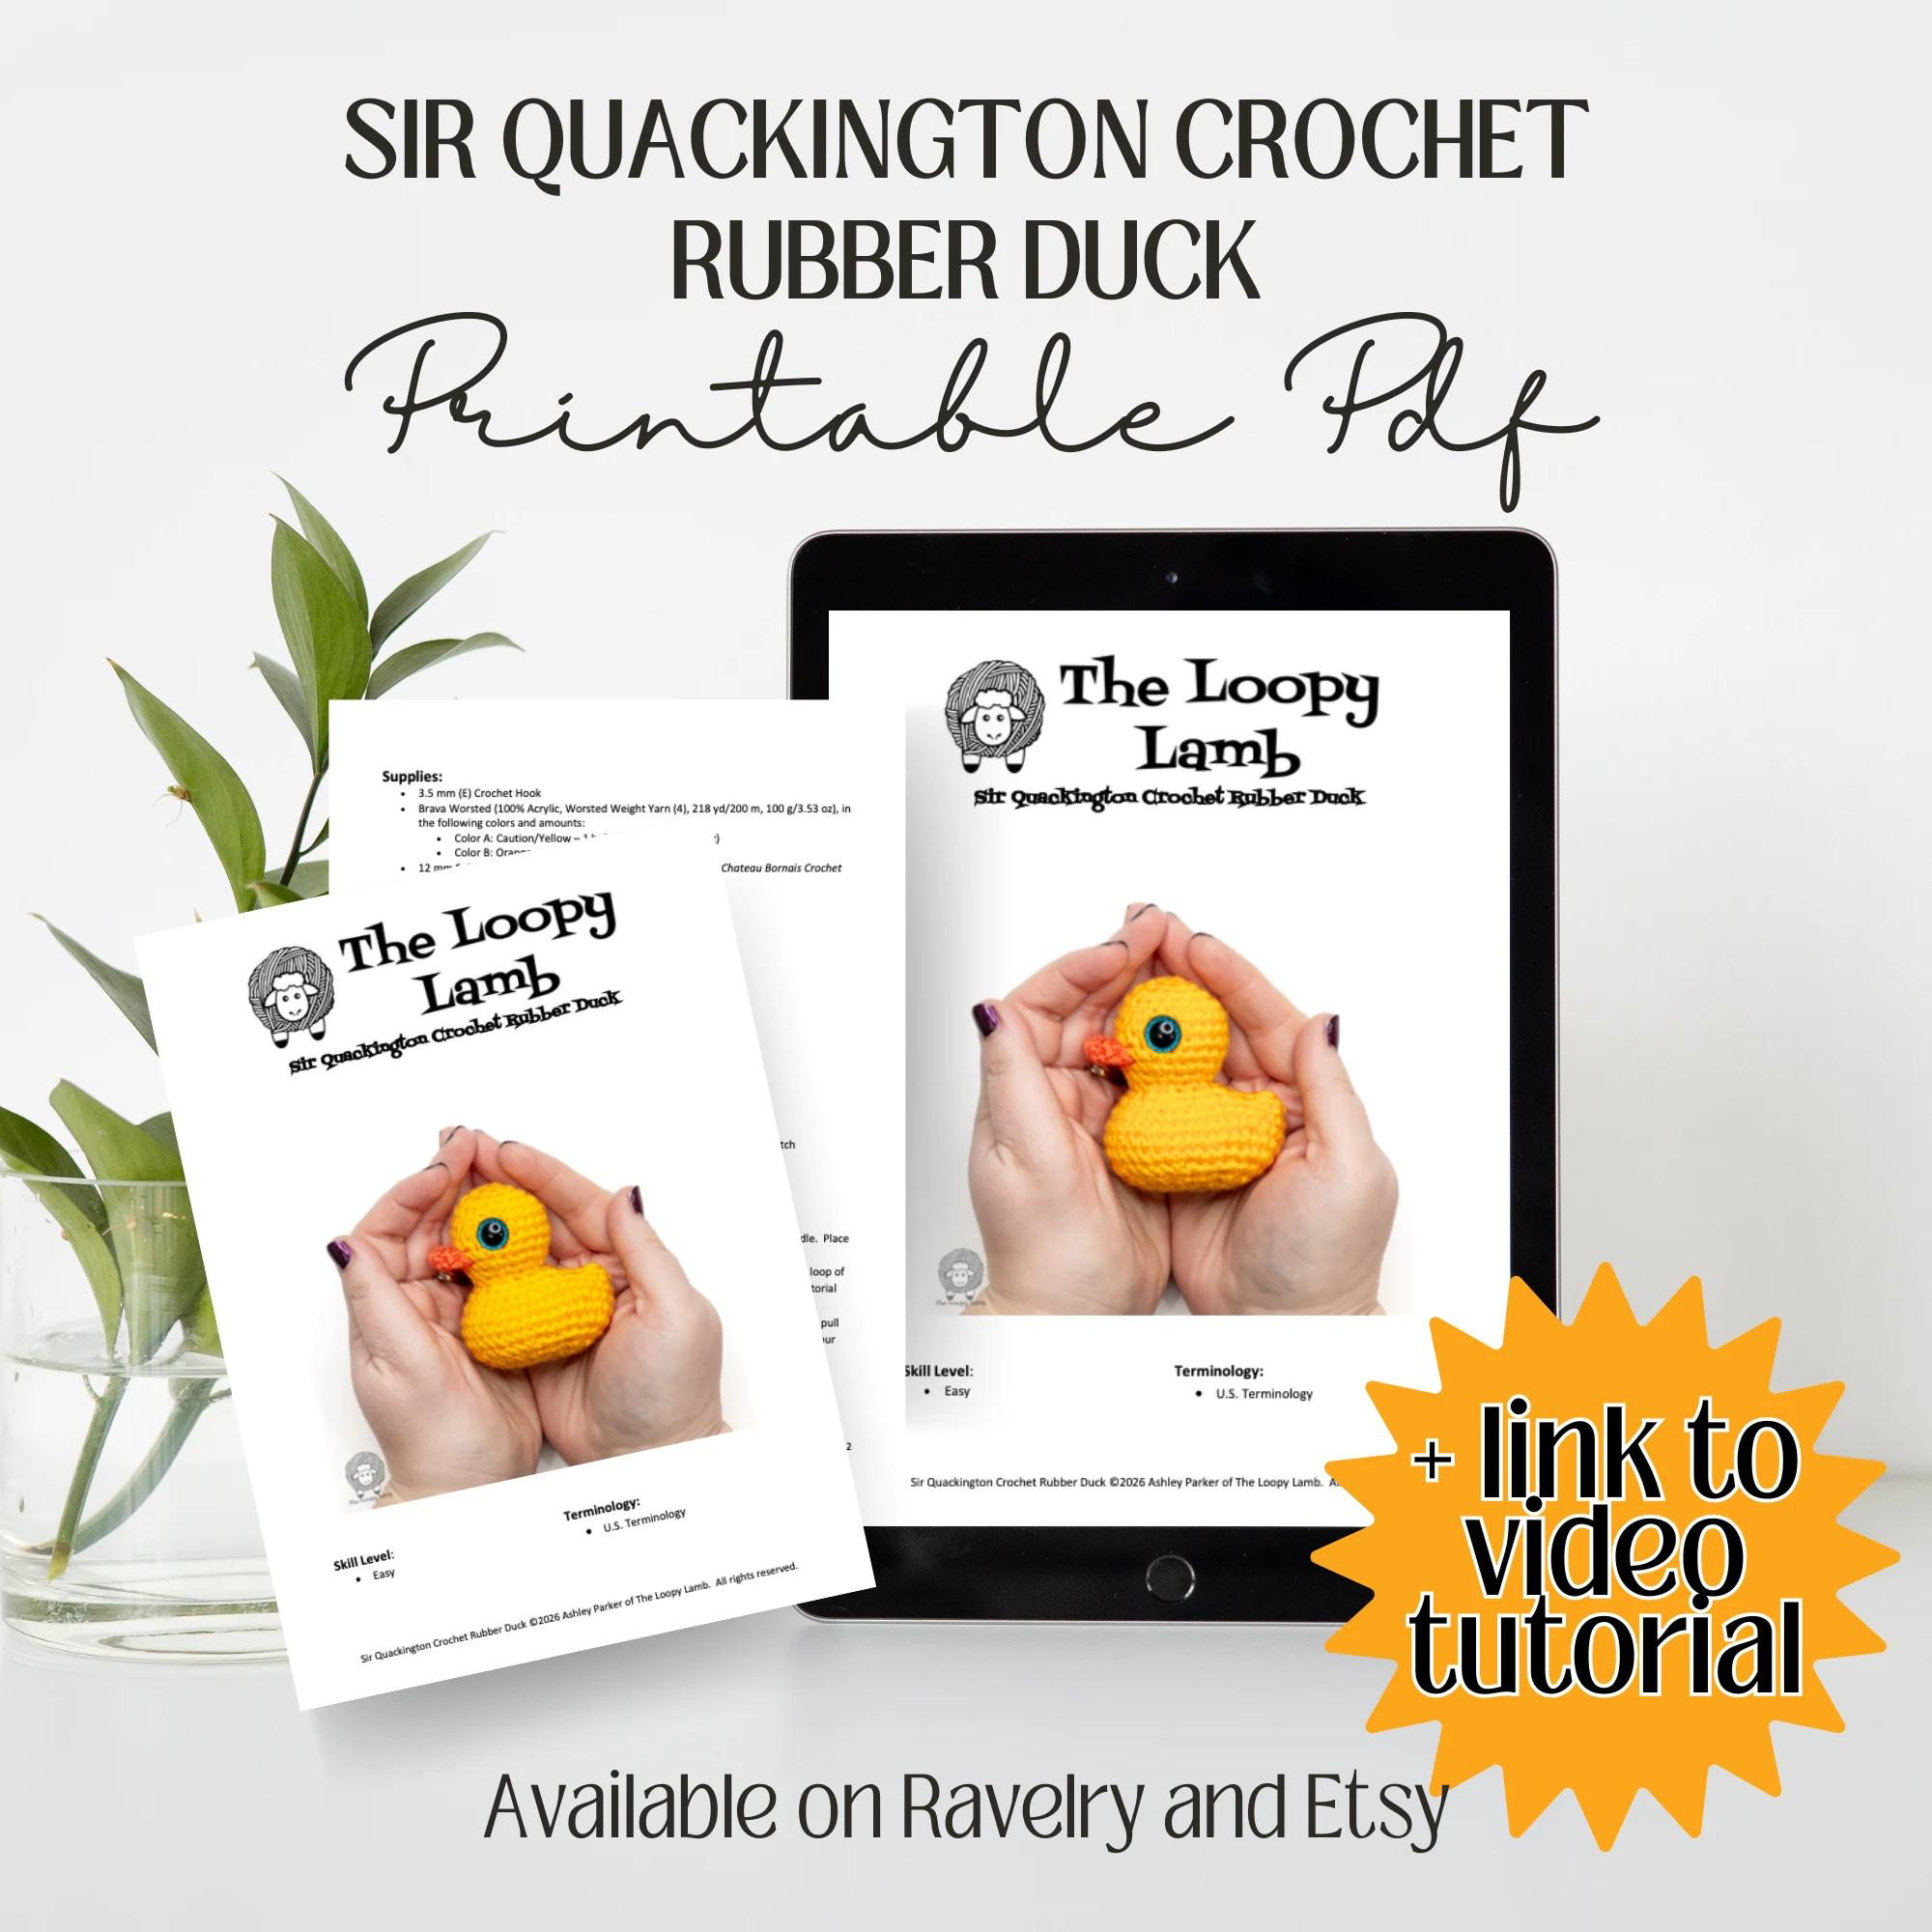
The Sir Quackington Crochet Rubber Duck pattern is available as a printable, ad-free PDF, perfect for printing or saving to your device. Includes a clean, easy-to-read layout so you can crochet without distractions.
Table of contents
- Free Rubber Duck Crochet Pattern (Beginner-Friendly)
- Why You’ll Love This Rubber Duck Crochet Pattern
- Disclaimer
- Skill Level:
- Terminology:
- Supplies:
- Abbreviations:
- Special Stitches & Techniques:
- Gauge:
- Notes:
- Sir Quackington Rubber Duck Crochet Pattern – Video Tutorial
- Sir Quackington Rubber Duck Crochet Pattern – Written Instructions
- Frequently Asked Questions
Free Rubber Duck Crochet Pattern (Beginner-Friendly)
This crochet rubber duck is worked in continuous rounds as one main piece, with a separate beak that’s quick to attach. The shaping is simple and straightforward, giving you that classic rubber duck look without complicated construction.
It’s a great project for practicing amigurumi basics like increasing, decreasing, and working in the round, while still ending up with a finished piece you’ll actually want to display or gift.
Why You’ll Love This Rubber Duck Crochet Pattern
- Beginner-friendly and easy to follow
- Low-sew construction
- Quick project (can be made in one sitting)
- Great for gifts or markets or the rubber duck collector in your life
Disclaimer
This free duck crochet pattern is © Ashley Parker of The Loopy Lamb. You’re welcome to sell finished product made using it, I kindly request that you credit The Loopy Lamb as the pattern designer and link to https://theloopylamb.com. This original pattern is for personal use only. Please don’t copy, share, or repost the pattern itself, translate or alter it, or use my photos. Video tutorial creation using this pattern is strictly prohibited.
Thank you for supporting independent designers by viewing this pattern right here on my blog. It helps me keep sharing free patterns with you.
Skill Level:
- Easy
Terminology:
- US terminology
Supplies:
- E / 3.5 mm Crochet Hook
- Brava Worsted (100% Acrylic, Worsted Weight Yarn (4), 218 yd/200 m, 100 g/3.53 oz), in the following colors and amounts:
- Color A: Caution/Yellow – 1 ball (approx. 27 yd/12.3 g)
- Color B: Orange – 1 ball (approx. 3 yd/1 g)
- 12 mm Plastic Safety Eyes – I used Turquoise Glitter Safety Eyes from Chateau Bornais Crochet
- Tapestry Needle
- Scissors
- Stitch Markers
- Scrap Piece of Yarn
- Sewing Pins (optional)
Abbreviations:
(Click links below to view a tutorial for that stitch/technique)
- BLO = Back Loop Only
- CH(s) = Chain(s)
- FLO = Front Loop Only
- FO = Finish Off
- MC = Magic Circle / Magic Ring
- PM = Place Marker / Place Stitch Marker
- RS = Right Side
- SC = Single Crochet
- SCDEC = Single Crochet Decrease
- SCINC = Single Crochet Increase / 2 single crochet stitches worked into the same stitch
- ST(s) = Stitch(es)
Special Stitches & Techniques:
- Invisible Finish/Join: FO leaving a long tail. Thread the tail onto a tapestry needle. Place the tapestry needle through the top of the 2nd ST from front to back and pull through. Place tip of needle into top of the last ST of the round, under the back loop of the stitch, and pull through to the back of the work. Weave in the end. Find a tutorial here: https://theloopylamb.com/invisible-finish-crochet-tutorial/
- Yarn Under Single Crochet: Insert hook into indicated stitch, yarn under hook and pull up a loop (2 loops on your hook), yarn over hook and pull through both loops on your hook. Find a tutorial here: https://theloopylamb.com/how-to-yarn-under-single-crochet-for-amigurumi-tutorial/
Gauge:
- Rounds 1 – 4 of the Head/Body = 1.25” across the widest point of the piece
Notes:
- Gauge is not vital to the project but it may affect the amount of yarn needed for the project and the size of your finished toy.
- Maintain a consistent tension throughout the project to ensure the pieces fit together as expected.
- A 3.5 mm hook is recommended for this pattern but I suggest using whatever hook size needed to create a tight, closed fabric free of holes, or whatever hook size needed to match the given gauge.
- If you find that you have holes in your fabric using the recommended hook size, try going down a hook size until you create a tight fabric with no holes in it and no stuffing is showing through.
- If you find that you have holes in your fabric using the recommended hook size, try going down a hook size until you create a tight fabric with no holes in it and no stuffing is showing through.
- This toy is made in two separate pieces. The Head & Body which is made as a single piece and the Beak. The Head & Body piece is worked from the top of the head, down to the bottom of the body. The Beak is worked from the front of the Beak to the back.
- This pattern can be worked in either regular single crochet or the yarn under single crochet. My sample was done using regular single crochet. Keep in mind that if you use the yarn under single crochet, it may affect the amount of yarn used and the size of your toy.
- Reading the Pattern: Instructions in brackets: I.e.: (SC, SCINC) x 6, this means you’ll work 1 SC stitch in the first stitch and then SCINC in the next stitch and you’ll repeat that pattern a total of 6 times.
- Numbers indicated in () at the end of a Round/Row indicate the number of stitches you should have at the end of the Round/Row. I recommend counting your stitches at the end of each Round/Row to ensure you have the correct stitch count before moving on to the next.
- Where SC followed by a number (i.e. SC 14), you’ll work 1 SC stitch in the next 14 stitches or chains, unless the pattern specifies to work those stitches into the same stitch or chain.
- The pieces in this pattern are worked in continuous Rounds (unless stated otherwise). Do not join at the end of the Round, unless indicated. A stitch marker is used to keep track of the beginning of the Round. Place your stitch marker in the first stitch of the round and move it up when starting each new round.
- Magic Circle Substitution: If you struggle with the MC or your yarn breaks when you try to do a MC with it, use a CH 2 and work all Round 1 stitches into the 2nd chain from the hook.
- For a cleaner SCDEC, do your SCDEC under the front loops only of each stitch rather than under both loops (except when indicated to work your ST in a different location i.e. BLO). This is often referred to as an invisible decrease. Find my tutorial here: https://theloopylamb.com/how-to-do-an-invisible-decrease/
- Place scrap pieces of yarn or stitch markers into the stitches indicated for safety eye placement until you have crocheted past that point far enough to insert the safety eyes with the back on them without them getting in the way of your crocheting.
Sir Quackington Rubber Duck Crochet Pattern – Video Tutorial

Sir Quackington Rubber Duck Crochet Pattern – Written Instructions
Head and Body
Round 1: Using Color A, make a MC and SC 6 into the MC. (6)
Round 2: (SCINC) x 6. (12)
Round 3: (SC, SCINC) x 6. (18)
Round 4: SC, SCINC, (SC 2, SCINC) x 5, SC. (24)
Gauge Check: Piece should measure 1.25” across the widest point of the piece at the end of Round 4.
Rounds 5 – 9: SC around. (24) – Insert safety eyes into STs 7 and 18 of Round 6. PM in Round 8 for Beak placement later.
Round 10: SC, SCDEC, (SC 2, SCDEC) x 5, SC. (18)
Round 11: (SC, SCDEC) x 6. (12) – Stuff head, Stuff firmly.
Round 12: FLO SC, CH 5, turn the piece so you’re working back down the chain. SC in the 2nd CH from the hook, SC in each of the next 3 CHs. Working into the STs of Round 11, starting in the 2nd ST of the round work all of the following stitches in the FLO: SCINC, (SC, SCINC) x 5. (22)
Note: This part created by the chain will eventually become the tail. The tip of the tail (the end of the chain) will want to turn inwards. Push it out, to the RS of the fabric when/if you see this occurring.
Round 13: SC, working into the unworked loops of the chain created in Round 12, SC 3, SCINC, SC 9, SCINC, (SC 2, SCINC) x 3, SC 2. (31) – need help working on the other side of the chain? Check out my Working on Both Sides of a Crochet Chain Tutorial.
Round 14: SC 2, SCINC, SC 5, SCINC, SC 2, SCINC, (SC 4, SCINC) x 3, SC 2, SCINC, SC. (38)
Rounds 15 – 17: SC around. (38)
Round 18: (SC 4, SCDEC) x 6, SC 2. (32)
Round 19: (SC 3, SCDEC) x 6, SC 2. (26) – Start stuffing, continuing to add stuffing as you work. Stuff firmly.
Round 20: SC, SCDEC, (SC 2, SCDEC) x 5, SC 3. (20)
Round 21: (SC, SCDEC) x 6, SC 2. (14)
Round 22: (SCDEC) x 7. (7)
FO leaving a long yarn tail. Thread tail onto a tapestry needle and weave through the FLO of each stitch of the last round and pull yarn tail to cinch closed. (See my tutorial How to do the Ultimate Finish for assistance). Weave in ends.
Beak
Using Color B, CH 5.
Round 1: SCINC in the 2nd chain from the hook. SC 2, work 3 SC in the last CH. Working on the other side of the chain, SC 3. (10)
Round 2: SCINC, SC, SCINC, SC 2, SCINC, SC 4. (13)
FO leaving a long yarn tail for sewing and do the invisible join (See Special Stitches & Techniques). Flatten the piece, lining up the stitches on the open edge. Do NOT stuff.
Place the open edge of the piece between Rounds 8 – 9 of the Head & Body, centered between the eyes. Use sewing pins to hold the piece in place and working through both sides of the open edge of the Beak at once, sew the piece in place. When secure, weave in ends.
That’s it! You’re all done making your cute duck! I hope you enjoyed making this rubber duck crochet pattern! This amigurumi duck is such a fun, quick project and a great addition to any duckie collection. While I have shown you here how to make the traditional yellow duck, have fun and make it in a totally different color. You could even turn this project into a mallard duck by changing colors. It’s a great project to play around with and give it your own shot of personality.
If you post pictures of your finished crochet ducks on social media, I’d love to cheer you on and share your post with our community! Tag me @theloopylamb or use #theloopylamb so I can see your beautiful creations and maybe even feature you in my stories.
Frequently Asked Questions
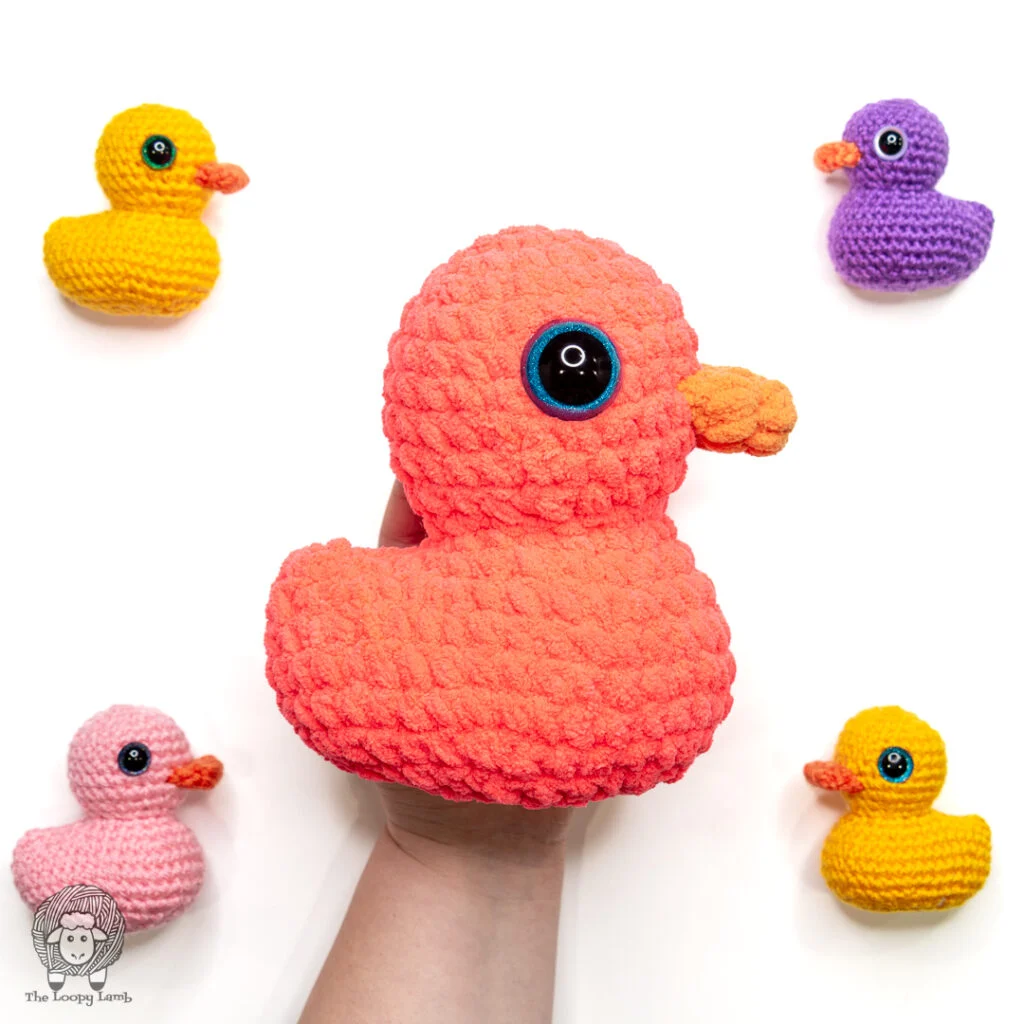
Absolutely! Using a different yarn weight is the easiest way to make this duck pattern different sizes. Just keep in mind that by changing your yarn weight, you need to also adjust your crochet hook size and safety eye size and that you may end up using more or less yarn than listed in the pattern.
Using a super bulky weight yarn (6) is a great way to easily make this duck much bigger. Here is what you need to know to make this project with blanket yarn:
– Hook Size & Safety Eye Size: I used an 8mm (L) crochet hook and 30mm safety eyes.
– Yarn: I used 102 yds/ 75g of Bernat Blanket Brights yarn in Neon Coral to make the Head/Body and 9 yds/ 6g of Bernat Blanket yarn in Orange to make the Beak.
– For the Gauge Check after Round 4: My piece measured 3” across the widest point.
– Finished Size: My toy, when crocheted to gauge measured 6.75″ tall x 6″ long.
Your toy should feel firm and hold its shape, but not so tightly stuffed that the stitches stretch or gaps appear. If you can see the stuffing through your stitches, it’s likely overstuffed or your tension is too loose. A properly stuffed toy should feel like a ripe orange when you give it a small squeeze.
Take your time and add small amounts of stuffing at a time, using your finger to find small gaps in the stuffing to fill. This will help you achieve a smooth, even finish without lumps.
Join The Loopy Lamb Crochet Community Facebook Group to connect with other crafty friends and share your fabulous projects made with this free rubber duck crochet pattern! Don’t forget to follow me on social media so you always know when new youtube tutorials and other new free crochet patterns are released. Happy Crocheting!
Facebook Page: www.facebook.com/TheLoopyLamb
Instagram:www.instagram.com/TheLoopyLamb
YouTube: The Loopy Lamb YouTube Channel
TikTok: www.tiktok.com/@theloopylamb
Pinterest:www.pinterest.com/theloopylamb
Newsletter: Sign up for my newsletter!