A common challenge that many new and experienced crocheters face is differentiating the right side from the wrong side of crochet fabric. This can be particularly important for projects where only one side of the fabric will be shown.
In this post, I’ll teach you everything that you need to know about how to tell the right side from the wrong side in crochet fabrics and amigurumi toy projects with photo examples to help you picture what we’re talking about.
Pin This to Your Pinterest Boards to Save It For Later SAVE IT
*This post may contain affiliate links, which means that I may earn a small commission from qualifying purchases made through these links at no extra cost to you. All opinions are my own.*
Table of contents
- Pattern Notes About Right Side and Wrong Side
- Why Does Being Able to Determine the Right and Wrong Side of Your Work Matter?
- Look for the Position of the Chain Tail & Slip Knot from your Foundation Chain
- Check Which Row You Are On
- Right Side Vs. Wrong Side When Working in the Round
- Right Side Vs. Wrong Side in Amigurumi
- Look at the Texture of Your Fabric
- The Side That Looks the Best is The Right Side
Pattern Notes About Right Side and Wrong Side
In crochet patterns you’ll see the right side and wrong side abbreviated as RS for right side and WS for wrong side. You’ll find these typically specified in patterns where a certain side of the fabric plays an important role in the instructions.
So let’s take a look at how to differentiate the right side from the wrong side of our fabrics and why it matters.
Why Does Being Able to Determine the Right and Wrong Side of Your Work Matter?
Because after putting all that time and effort into your crochet project, you want it to look its best!
While some projects might have a reversible fabric (meaning that the right side and wrong side of the project may look the same) others have a very clear, better-looking side that is meant to be facing outwards (or public-facing).
For instance, there is a very clear right side of amigurumi projects because one side of the fabric is smoother than the other.
It is also important when specifically noted in a crochet pattern by the designer because it may play an important role in how your project is assembled. This is particularly vital in projects where each side of the fabric has a different texture.
Look for the Position of the Chain Tail & Slip Knot from your Foundation Chain
This is an easy trick for quickly finding the right side of your crochet fabric that I use all the time.
Lay your crochet piece in front of you. If you are a right-handed crocheter and the yarn tail and slip knot are on your left side then the right side of your fabric is facing you.
Left handers that find the yarn tail and slip knot on their right-hand side have the right side of the fabric facing them.

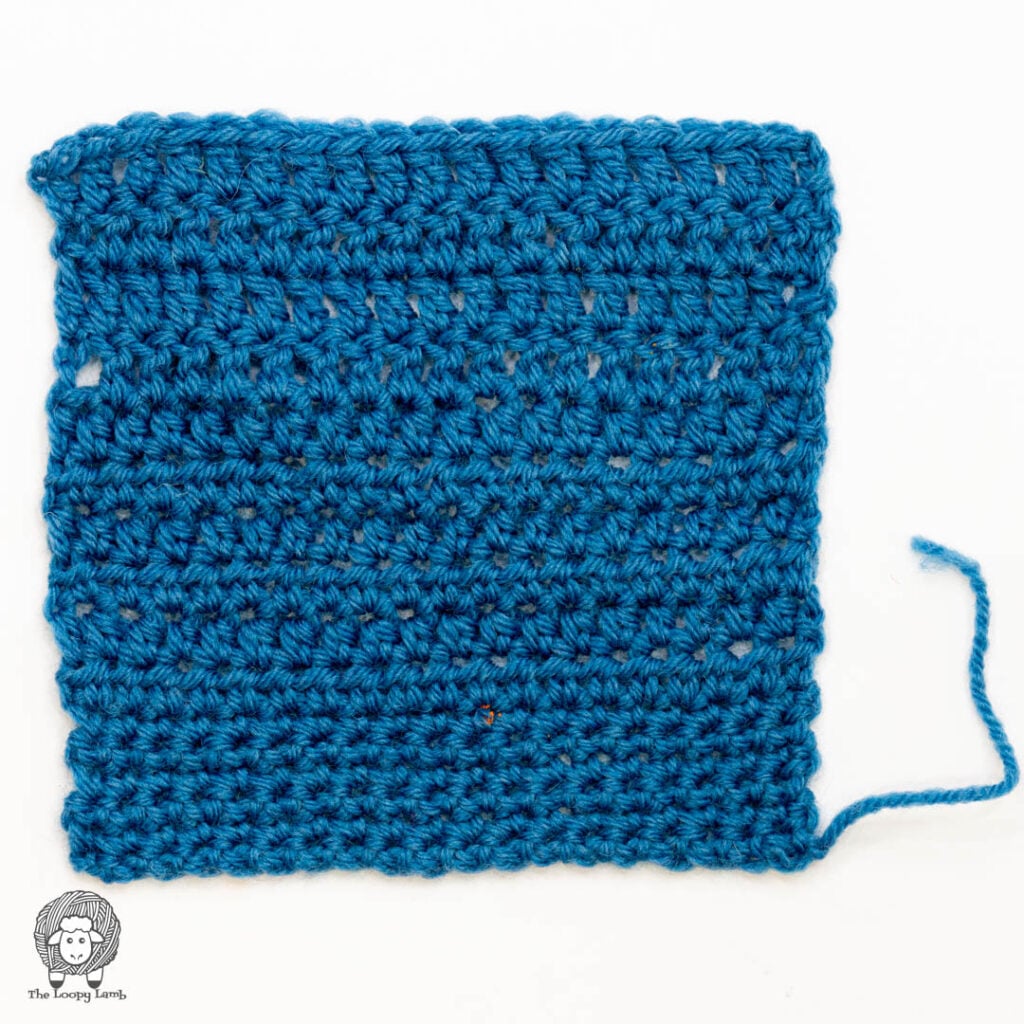
While the two pieces of fabric above may look nearly identical when using single crochet, half double crochet, and double crochet stitches worked in rows, knowing the right side from the wrong side can still be important for reasons such as:
- Assembly: ensuring all sewn pieces show the front of your work
- Adding decorative elements: such as slip stitch detailing, embroidery, or surface crochet
Check Which Row You Are On
When working in turned rows, typically, the first row of your project is the right side of your fabric (not including the chain). Odd numbered rows have the right side of the fabric facing you and even numbered rows have the wrong side of the fabric facing you.
This may differ if the pattern writer has noted otherwise. If your pattern does note that it’s different, you can place a stitch marker on the right side of the fabric to help you remember.
If the right side is facing you, that means that the back side of your fabric is the wrong side.
So in short odd numbers = RS rows and even numbers = WS rows.
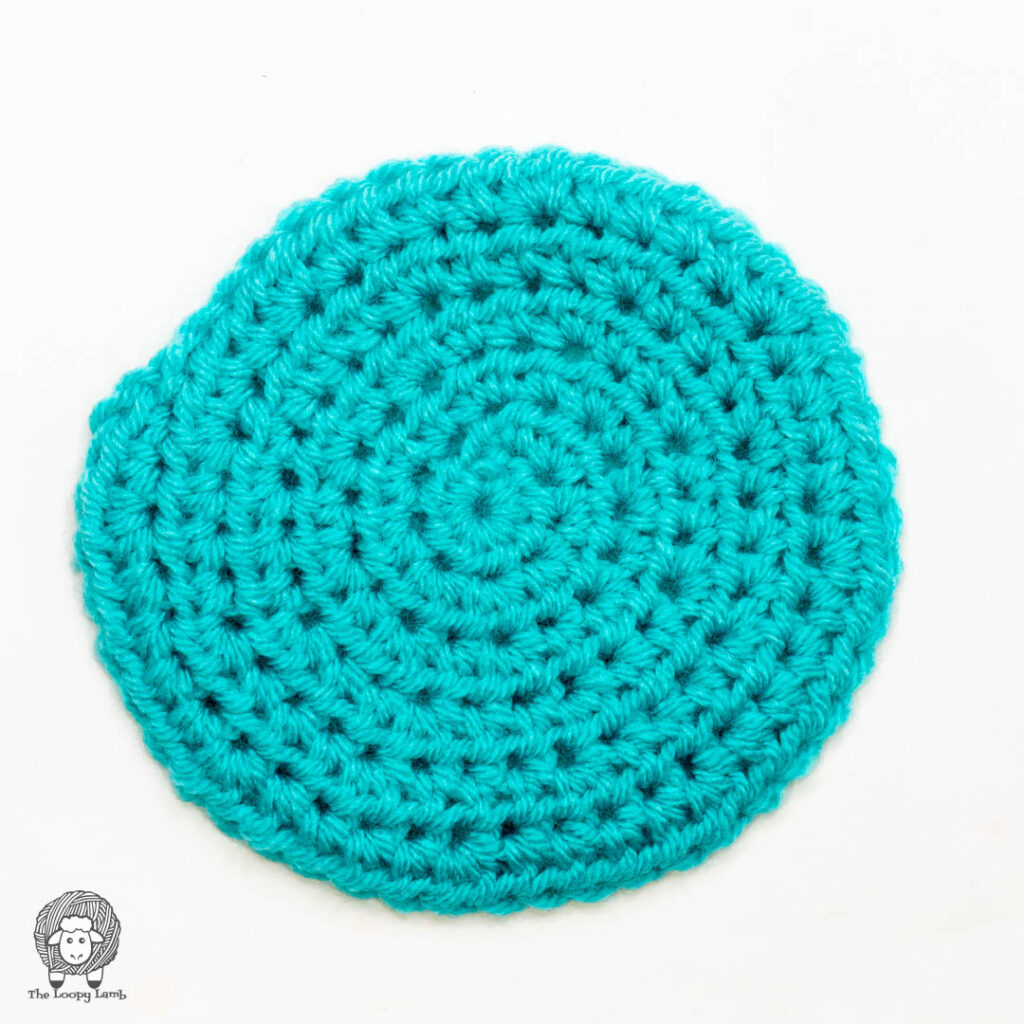
Right Side Vs. Wrong Side When Working in the Round
When crocheting in the round (whether in joined rounds or a continuous spiral) the right side of the fabric is always facing you.
When working on projects like amigurumi toys, granny squares or sometimes hats, they have a public side, meaning that they have a side to the fabric that is meant to be showing to the public and the wrong side of your crochet project is meant to be on the inside or on the back.

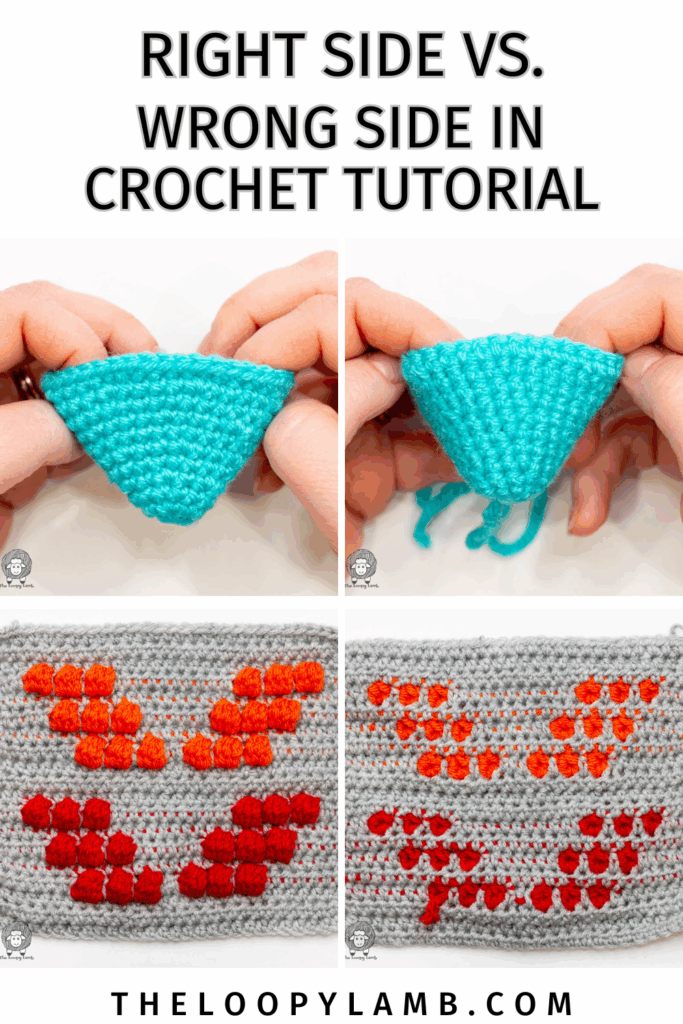
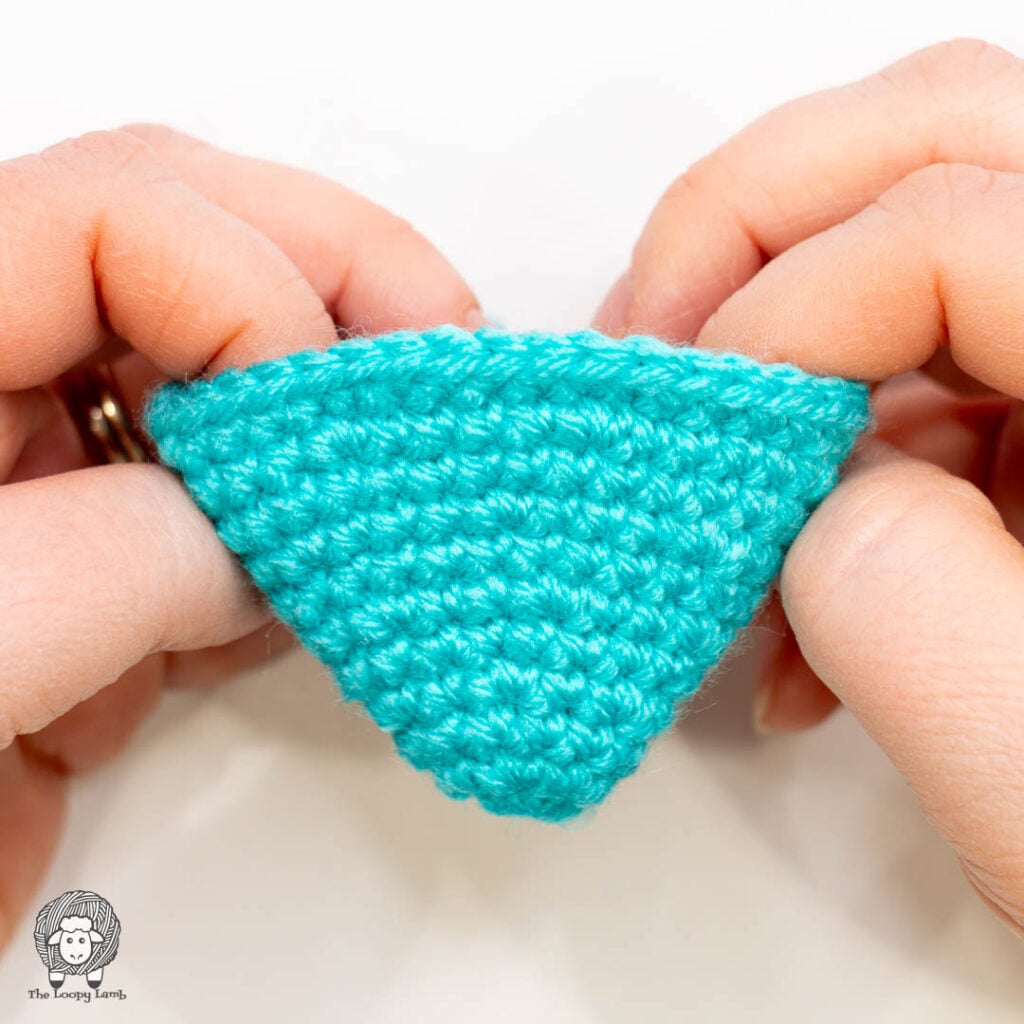
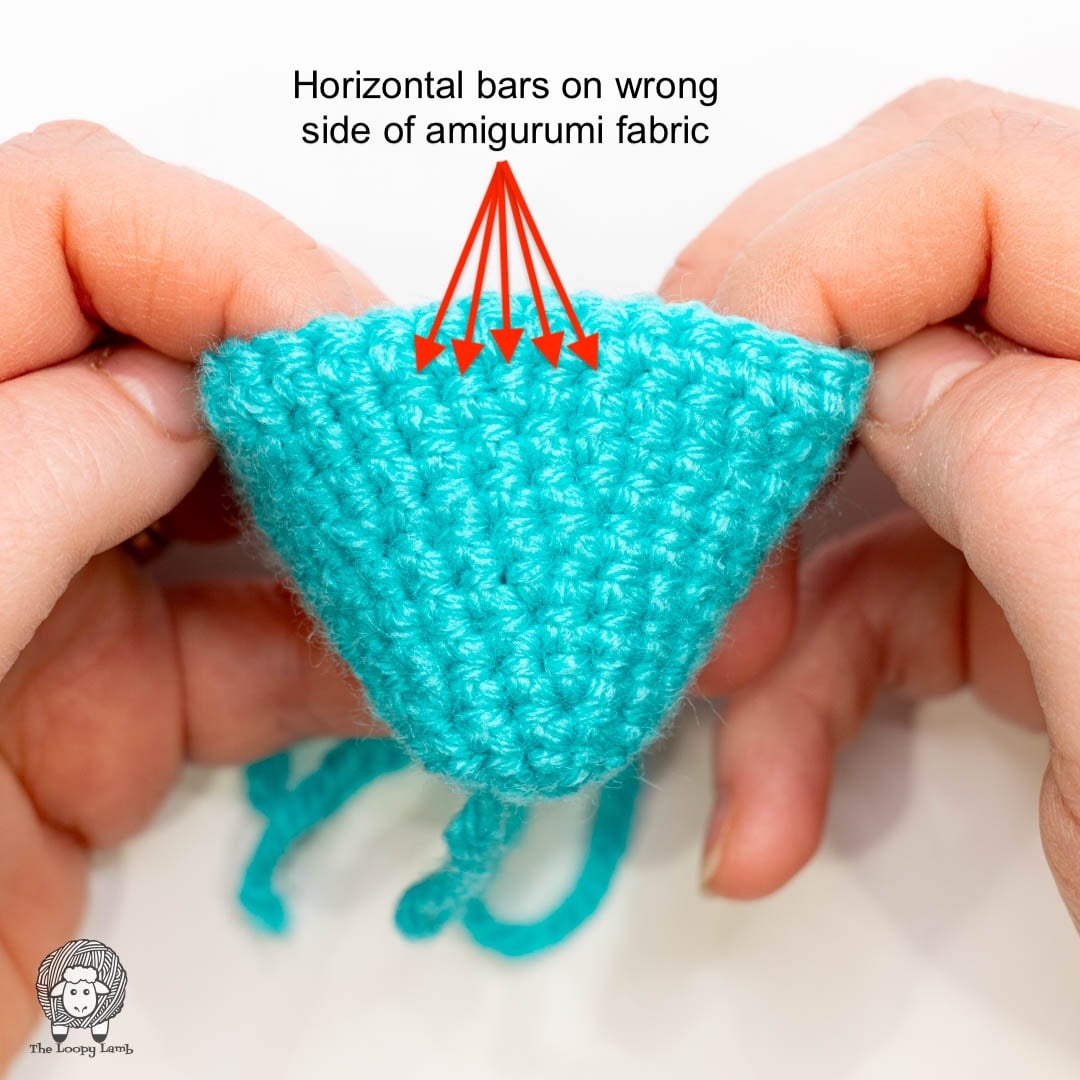
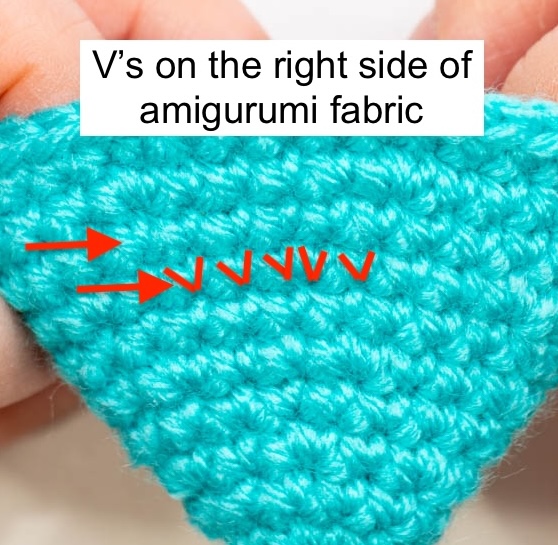
Right Side Vs. Wrong Side in Amigurumi
For an amigurumi project, it is important that the right side of your work faces out (public-facing) with the wrong side facing inside the toy.
Amigurumi toys are generally crocheted using single crochet stitches which, when worked in a spiral, have small horizontal bars on the back of the stitches.
The horizontal bars make the back of your work a little bumpier than the opposite side and we want the smoother side facing out in an amigurumi piece. So if the bars appear on the outside, turn your project inside-out so the smoothest part is facing you.

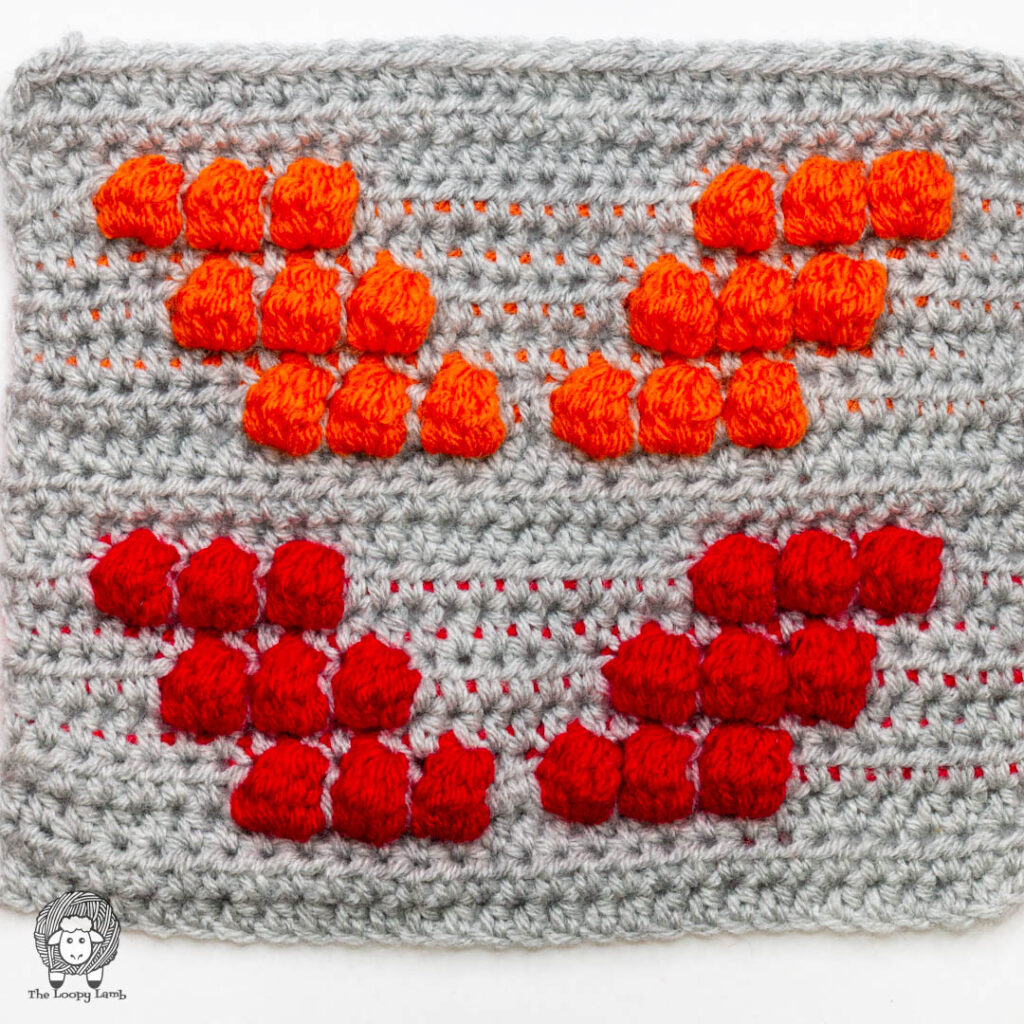
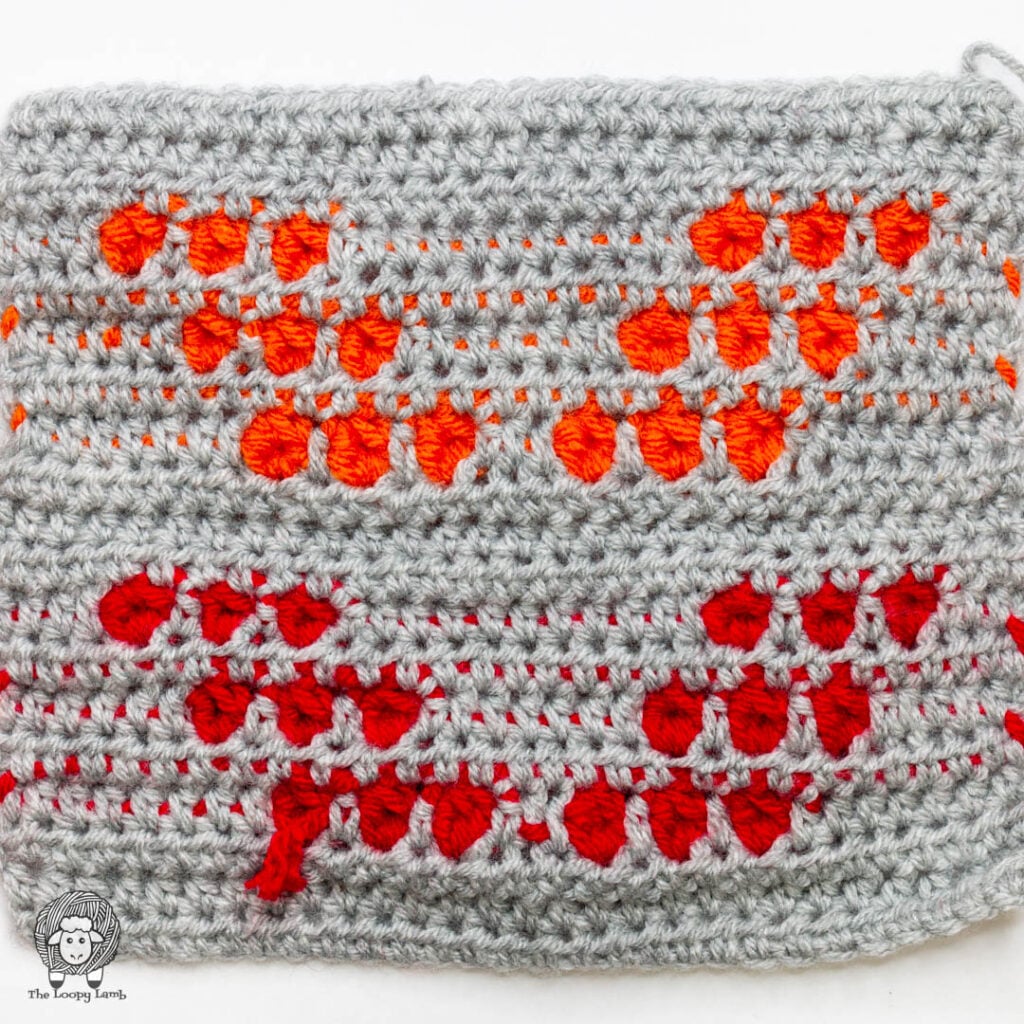
Look at the Texture of Your Fabric
The texture of the fabric can also be a clue as to which side is the right side. In many cases, the wrong side could be smoother and flatter than the right side, which may have a more textured or bumpy appearance (like with the bobbles in the fabric below). But, there are some stitch patterns where the opposite may be true. If in doubt, compare your fabric to the sample images provided with the pattern and pick the side that most closely resembles the pattern image or contact the designer for assistance.
The Side That Looks the Best is The Right Side
If you’re still unsure, the easiest way to determine the right side of crochet fabric from the wrong side is to determine which side of the fabric you like best and call it the right side. This is often what many complete beginners do until they get the hang of determining which is the right side of crochet projects.
Some crochet stitches also create fabrics that are the same on both sides and it doesn’t really matter which is the correct side. This is another time where you can just pick which side you prefer.
When using novelty yarns like fur yarn, both sides of the crocheted fabric can look very close to one another. I choose to have my wrong side as the front side with those yarns because I find that the fur fibers tend to show more on that side than the traditional right side.
Conclusion
Overall, knowing the right side vs. the wrong side of your crochet fabric is one of those essential techniques that can affect the overall appearance of your project. However, beauty is in the eye of the beholder and if your personal preference is to use a different side as the front of your piece, that’s okay. These are your crochet projects, and you’re free to make those choices however you’d like.
I hope that you’ve found this tutorial on how to tell the right side cs the wrong side of your crochet pieces helpful and feel confident using this skill in your future crochet creations.
If you’d like to learn something else while you’re here, here are some other great crochet tutorials for you to check out. Don’t forget to check out one of my many free crochet patterns while you’re here as well.
- Crochet Standards All Crocheters Should Know
- How to make a Magic Ring / Magic Circle Tutorial
- Get cleaner yarn joins with the standing single crochet and standing half double crochet
- How to Crochet a Flat Circle Tutorial & Free Pattern
- How to Soften Acrylic Yarn – The Ultimate Guide
- How to Crochet a Cone Tutorial & Free Pattern
Join The Loopy Lamb Crochet Community Facebook Group to connect with other crafty friends and share your fabulous projects.
Don’t forget to follow me on social media so you always know when crochet product reviews, crochet tutorials, giveaways and new patterns are posted here on the blog. Happy Crocheting friends!
Facebook Page: www.facebook.com/TheLoopyLamb
Instagram: www.instagram.com/TheLoopyLamb
YouTube: The Loopy Lamb YouTube Channel
TikTok: www.tiktok.com/@theloopylamb
Pinterest: www.pinterest.com/theloopylamb
Become a Newsletter Subscriber:Sign Up for the newsletter here.